Pages

Monday, October 31, 2016

Happy Fall Inspiration hunting!!!


HAPPY FALL
and Finding inspiration!!

I know I have said it many times, FALL is my favorite time of the year.  Well, except when it's cold and foggy or rainy :-)  Then, not so much.  But, even then, it's a good time to hunker down in the craft room and 'play'.

How do you get new ideas for cards?  I get asked that a lot.  Well, I spend a lot of time on the computer searching Pinterest and other places for ideas.  Some days, the ideas just flow from my brain without much coaxing but other times, I need a little 'jump start' to get the ideas flowing.

That's when I head to Pinterest and just sit there looking at hundreds and hundreds of card ideas.

Some days, I am not even looking at cards, but other crafts to do and all of a sudden a card will surface in my head!

One day I was looking through Pinterest for Fall decorations and came across an idea for a scarecrow made out of wood pallets.

Aren't these cute?  And, if you go looking for wood pallets, snowmen, Santa, scarecrow....just about anything, you'll come up with a lot of ideas!!

The first one I saw, looked more like the card below....and that is the card that I made to look like the pallet I saw.  But, when I went back to 'find' the first pallet that I had originally seen, I couldn't find it.  Go figure, huh?

I didn't quite like the way the card turned out with the card peeking through on the sides and bottom, so I went back to Pinterest in search of that other pallet but no success.

And, I found one similar to the one above but different colors and it sent me to a website for the directions for making it. So, I made the one below.

Now, I want to redesign my original one (I thought it was original...lol) using the directions I found for the above scarecrow, but I haven't had time to go play with my original Scarecrow since.  I am knee deep in Christmas cards for a Christmas class.

Where do you find your inspiration??  I recently was perusing a catalog and came across this page.  I thought to myself, that matches some SU card stock.  And, sure enough, it did!  I went to my craft room and pulled out Blackberry Bliss and Crushed Curry.  Now, "I" would have probably thought to put those two colors together but they go together beautifully!!

So, keep your eyes open, you never know where you'll find inspiration for card ideas or colors to use together.

Have a Fantastic Day!!!!

Hugs,
Char


Tuesday, October 25, 2016

Halloween Pumpkin Treats


These were the cute little make n takes we did at the Big Shot Workshop on Friday, October 7th.

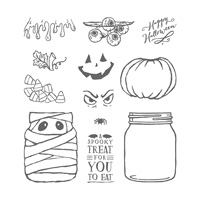
You can also use the same stamp set and do a mummy treat box.

They are so easy to do and you can have quite a few ready for those special little Trick or Treaters that come to your door!

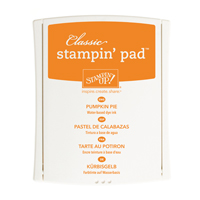
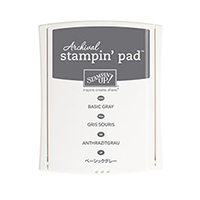
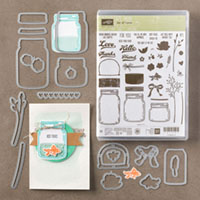
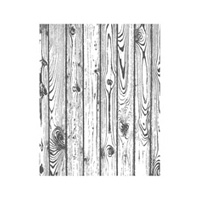
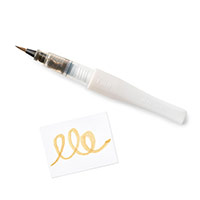
Using Pumpkin Pie card stock, cut out two medium size jars and then stamp them with the Hardwood stamp using Pumpkin Pie ink.  Also stamp two jar lids in Basic Gray and cut them out using the jar lid framelit.   Highlight the jar lids using the Gold Wink of Stella pen.

Stamp the pumpkin face using Basic Black ink on one jar. Highlight the eyes and mouth with the Gold Wink of Stella pen.

Add the jar lids to the pmpkin jars.

Create the little inside box for your Hershey Nuggets. Using a 3 1/2" x 3 piece of Pumpkin Pie Card stock, and with the 3 1/2" side at the top of your scoring tool, score at 1" and 2 1/2".  With the 3" side at the top of your score board, score at 1" and 2".  Cut on the score lines up to the fold line on each of the folds on the 3 1/2" side.  Put your box together using Fast Fuse Adhesive.  Add your treats to the box.  I used 2 Hershey Nuggets but you could use any candy of the same size.

Then, adhere your pumpkin die cuts to the outsides of the box using Fast Fuse Adhesive.

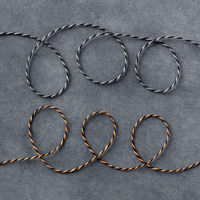
Using the Halloween Night Baker's Twine, wrap around top of pumpkin and tie a bow.

You can secure the top of your jar lids with a little snail adhesive to keep it closed.  NOT that it will stay that way long :-)

Have fun making these adorable treats!!!

I am listing the supplies used below!


Sunday, October 23, 2016

Bells and Pine bough Christmas Card

I know, I know, it's too early for Christmas....and I don't even want to see the decorations and music in the store before Thanksgiving but when you are a demonstrator, you have to be ahead of the game.

This is a card I saw and then redesigned it using different elements, but decided not to do it in class. So, I am sharing it here.

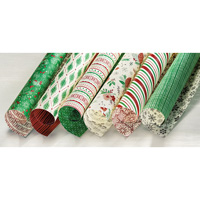
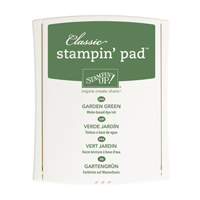
I used Cherry Cobbler, Garden Green and Very Vanilla card stock and also the This is Christmas DSP (I love this paper).

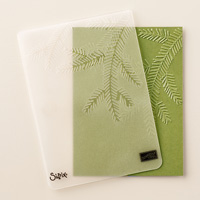
I stamped the bells with Versamark and embossed them in gold ep and fussy cut them out.  Using the pine embossing folder, I embossed a piece of WW and then used a sponge dauber to lightly go over it with Garden Green ink.

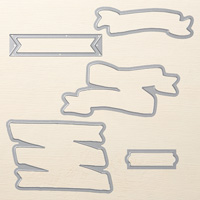
Stamp and emboss your sentiment with gold embossing powder onto a piece of Whisper White card stock and cut out with the Bunch of Banners Framelits.  Attach to the card.

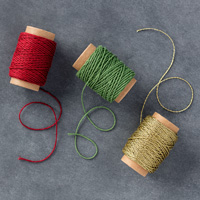
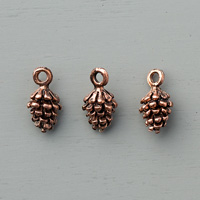
Then, add the bells with the Baker's Twine trio (only using red and gold) and attach it with the Mini pine cones.

You can find all the products I used at the end of this blog post.

I'll be sharing more Christmas cards and also Fall cards in the upcoming days.

Have a great day!!!
Char
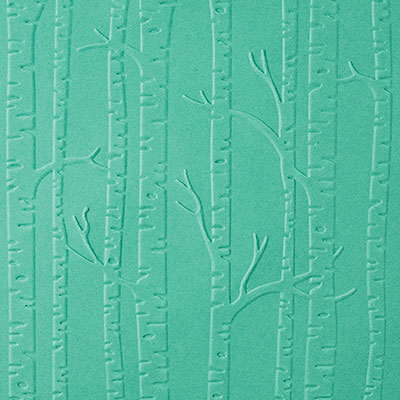


Table built using Product Table Builder by The Crafty Owl - Independent Stampin' Up! Demonstrator.

Thursday, October 20, 2016

Stamp Class and Recipe!!

Today was our Christmas Stamp class.  I decided to have it early so that the gals could get a head start on their Christmas cards.

Here is one of the 6 cards that we made today!  

They had a great time and so did I!!

We had a nice lunch, afterwards, as one of the gals brought Croissants and Chicken Salad for lunch and I made a dessert.  They asked if I would share the recipe on my blog, so here it is.

BUTTERSCOTCH DELIGHT
1 1/3 c. flour
3/4 c. chopped nuts
3/4 c. margarine or butter
3 oz cream cheese
1 c. confectioner's sugar
9 oz Cool Whip
1 Pkg. small instant butterscotch pudding
1 Pkg. small instant coconut pudding
3. c. Milk
9 oz container Cool Whip
1 c. chopped nuts or toasted coconut

Mix flour, 3/4 c. chopped nuts and butter.  Press into 9x13 pan.  Bake 15 minutes at 350ยบ.  Cool

Cream together cream cheese, confectioner's sugar and add 1 (9 oz) container Cool Whip. Spread over cooled crust.

Mix together puddings and milk, stir with whisk until thick.  Spread over cream cheese layer.  Add 1 (9 oz) container of Cool Whip on top and top with chopped nuts or toaster coconut.

ENJOY!!!!


Sunday, October 16, 2016

Yet another Fall card

My inspiration for this card came from a SU demonstrator in Germany.  You can check out her blog, here.  When you go check it out, leave her a comment and tell her Char sent you!!  :-)
Anyway, I saw it on her blog and couldn't quite figure it out, so I wrote her and asked and she kindly gave me the directions.

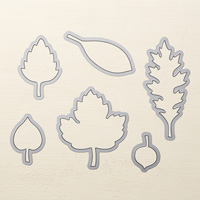
So, I am sharing them with you!!  Basically, you brayer Soft Suede ink onto the Woodland EF on the side that is not raised.  THEN, you cut a leaf using the Leaflits Framelits and place that inside your embossing folder and run it through your Big Shot.

Using the Leaflits Framelits, again, you then cut out another Maple leaf from a piece of 4 x 5 1/4" Whisper White card stock and layer that onto your 81/2 x 5 1/2 Crumb Cake card and then 'fit' your 'cut out' leaf inside.

Stamp a sentiment onto a piece of Crumb Cake card stock, and layer it onto a piece of Early Expresso card stock. I also used a strip of the Neutrals Designer Series Paper.

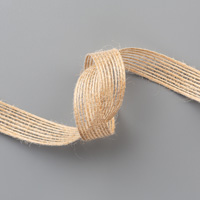
The bow was made using the 5/8" Burlap Ribbon but just removing one thread from the ribbon.  FUN way to get some sturdy thread to make a bow.

The embellishments at the top of the card are the Metallic enamel shapes.

FUN card to send for Fall birthdays!!!

Thanks to Christina from Germany for sharing with me how she created this card!!

If you haven't gotten the Leaflet Framelits or the matching stamp set, it is a MUST HAVE!!!  It is one of my favorite sets in the catalog.

Have a great day!!!

Char

Table built using Product Table Builder by The Crafty Owl - Independent Stampin' Up! Demonstrator.

Saturday, October 15, 2016

My Favorite time of year

Fall is my most favorite time of the year!!  It's probably because it follows summer which is my least favorite!  And, that is only because it gets so warm in the summer months and I am more of a cool weather person.

Actually, I love all the seasons of the year for their own differences.

But, Fall being my FAVORITE, I tend to make more cards at this time of year than any other.

This card was FUN to make.  First, I made the leaves using watercolor paper, re-inkers and SU Aqua Painters.

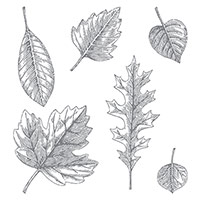
After the paper dried, I then used the Vintage Leaves to stamp my leaves and the Leaflits Framelits to die cut them.  On the larger leaf, I stamped a tree from the stamp set, Sheltering Tree to give it a 'veiny' look.  (if that's a word)
I used the Woodland embossing folder and lightly brayered Soft Suede ink onto the trunks of the trees...making sure I brayered the 'raised' side.  Then, I ran it through my Big Shot.   I stamped the smaller leaves from the set "Among the Branches" in a combination of Soft Suede and one of the greens....sorry, I didn't take note when I did that.....something I am really bad about doing, sometimes.

I'll be sharing more Fall cards in the upcoming days although I am already working on Christmas cards.....weird, huh?  But, my Christmas class is this Thursday because my customers wanted to get an early start on them.

Thanks for stopping by!!!  And, if you would be so kinds as to leave a comment so that I know you were here, I would appreciate it so much!

If you have any questions, don't hesitate to ask!  

Have a great day!!

Char