Pages

Showing posts with label Stampin' UP!. Show all posts

Friday, July 5, 2019

Bonus Days have begun

Yes, Bonus Days have begun and this is the first time I've had internet to get my blog updated!!!

Basically what Bonus Days means is that for every $50 you spend during the month of July,  you will earn $5 coupons to use in August!!!   

What a great time to earn coupons to use next month!!

So excited that our internet is working today so that I could share this fun news with you all.

I just did get an order from SU the other day and have four days off to STAMP!!!!   I'll be sharing soon!!!

Have a great day!!!

Char


Wednesday, November 25, 2015

Cute lil' deer Card

How cute is this little deer?  Ok, so he's probably not Rudolph, but he's adorable nonetheless.

When you are sitting down watching a movie or your favorite TV show, you can cut these adorable little guys from the "Home for Christmas" designer series paper. 

Here is how I constructed mine, but you can whatever DSP you want to go along with this little guy.  

Directions:

  1. Fold a piece of 8 1/2 x 5 1/2 Mossy Meadow card stock in half.
  2. Stamp and layer a piece of 4 x 5 1/4 designer series paper on top.  I used Season of Cheer and stamped with a sentiment from Cozy Christmas.
  3. Cut a piece of Whisper White card stock 3 3/4 x 3.  Cut the center out using the fourth largest Square Framelit, (2 1/2 x 2 1/2).  Lay it over your stamped DSP and adhere to your card using Stampin' Dimensionals. 
  4. Add your deer to whatever side he fits best on...depending on which deer you are using.
  5. Add a 3 1/2 x 3/4" strip of Merry Moments DSP, that you have notched at one end, to the bottom of the white layer.  
  6. Add a wooden snowflake element with a rhinestone in the center that you have colored with a red Sharpie.
  7. I also added a little rhinestone to the deer's nose and colored it with a red Sharpie, as well.
These cards go together pretty fast if you do all your prep work first and then just sit down and assemble them.

You can also use other images in other DSP, like the santa or the tree....whatever suits your fancy.

Here are the products that were used:


Table built using Product Table Builder by The Crafty Owl - Independent Stampin' Up! Demonstrator.


You can find all these products by clicking the links or going to my online website HERE

Don't forget the ONLINE EXTRAVAGANZA going on till Monday November 30th!  GREAT DEALS!!

Have a wonderful day!!

Char

Friday, November 20, 2015

ONLINE EXTRAVAGANZA!!!! UP to 50% off!!!

Oh my gosh!!!


Look what SU has planned!!!  Starting November 23rd through November 30th, they are having an online extravaganza!!!  

PDF

November 23-30, save up to 50 percent on select products during our week-long Online Extravaganza! To make it even better, there will be flash sales that last 24 hours on November 23 and November 30, the first and last days of Online Extravaganza. But remember: Online Extravaganza savings are only available while supplies last, so get them while you can!

Starting on Monday, check it out at my online store.

And, please use the Host code if your order does not qualify for any Host rewards.  Here is the Host Code   7R4GEURD

Here are just a few of the items I have on my list of NEED to have!!!
Right now, if you click on them, the prices will be what they normally are but come Monday, these items plus so much more go on sale!!!

Whoooohooooo.....love a sale!!!


Table built using Product Table Builder by The Crafty Owl - Independent Stampin' Up! Demonstrator.


I'll post more items over the next few days!!

Hugs,
Char

Wednesday, November 11, 2015

Advent Calendar

Today, I am sharing an advent project that I made for my husband.
I saw a cool idea for an Advent Calendar on another blog and just had to make it!!  Here is the original post. to give credit where credit is due, over on Pootle's website.  She is from the UK and does some awesome projects.  

Of course, I re-invented it, so to speak, so that it fit onto a 12 x 12 piece of DSP backing.  (the chipboard that comes in every package of designer series paper that you buy).  YES, I save all of it.  But, this cardboard backing comes from the Glimmer Paper, which is even sturdier.

So, basically, I used a piece of Irresistibly Yours DSP and stamped the bough image from the Wonderland stamp set in Staz On onto the designer series paper.  Then, I used a gold ink pad to sponge all over the DSP to bring out the 'dotted' pattern on the DSP.

I attached Gold Metallic Baker's Twine across the DSP and secured it to the back of the DSP and then used a black Sharpie marker and went around and colored in any of the mat board that was showing.  Then, I secured the whole piece to the 12x12 cardboard using tear and tape.

I cut four pieces of 1 1/4" burlap ribbon and stapled two each to the top of each mat board to the back.
To make the cute little cone shaped treat holders, I used the Winter Wonderland Designer Vellum Stack.
First you fold the square in half (diagonally, corner to corner) and then fold each half back to the center.  Then, fold the top flap down in back.  You then just adjust it to make a cone shape.  

I attached a little numbered circle to a clothespin and add that to the top to keep it closed.   (I would suggest using our Hello December 2015 Project Life Accessory Pack for this part, but I couldn't wait for my order to get here) (So, I downloaded a printable and printed it off and punched each one out.  Not quite as cute but it worked in a pinch) 
You can remove the clothespin and store your little treat holders flat.
Just think about all the ways you can use these for just about any occasion.  You could do one for a 25th anniversary, a birthday, a countdown to a retirement!!  The options are endless!!  And, just by changing up the designer paper and stamps.....my mind is going crazy,,,..oh my!!!
Here is how I folded the little cone shaped treat holders.

1st fold

2nd fold


3rd fold


4th fold


5th fold


6th fold

Circle number on tiny clothespin

Finished cone

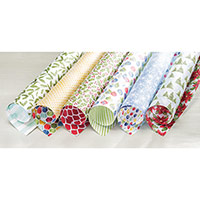
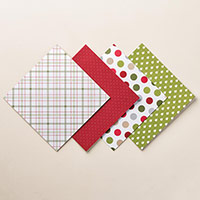
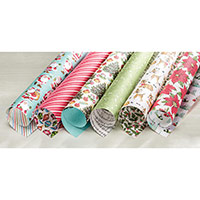
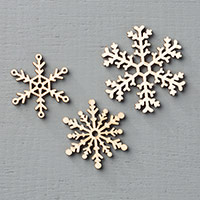
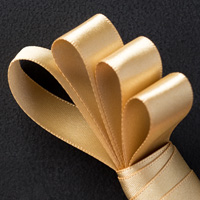
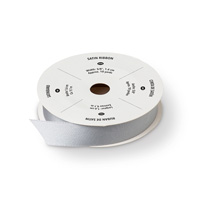
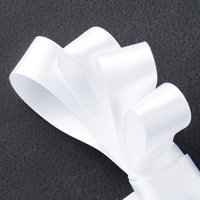
Here are the supplies I used to make this fun project.


Table built using Product Table Builder by The Crafty Owl - Independent Stampin' Up! Demonstrator.


If you want to do the cute little tags, you can use the stickers from the Hello December Project Life kit.  I found a printable online to do the circled numbers and printed them off and punched them out.

Hope you are able to follow the instructions.  If you have any questions, please ask in the comment section and I will try and explain further.

Have a fantastic day!!!

Char