Pages

Friday, November 20, 2015

ONLINE EXTRAVAGANZA!!!! UP to 50% off!!!

Oh my gosh!!!


Look what SU has planned!!!  Starting November 23rd through November 30th, they are having an online extravaganza!!!  

PDF

November 23-30, save up to 50 percent on select products during our week-long Online Extravaganza! To make it even better, there will be flash sales that last 24 hours on November 23 and November 30, the first and last days of Online Extravaganza. But remember: Online Extravaganza savings are only available while supplies last, so get them while you can!

Starting on Monday, check it out at my online store.

And, please use the Host code if your order does not qualify for any Host rewards.  Here is the Host Code   7R4GEURD

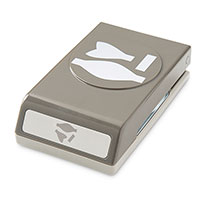
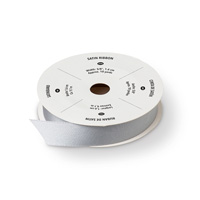
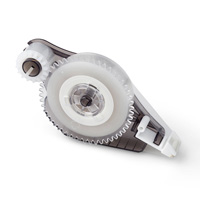
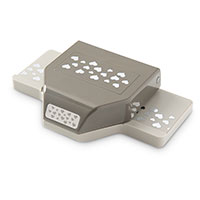
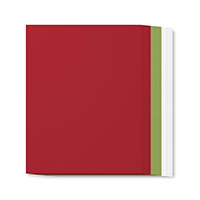
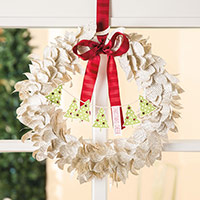
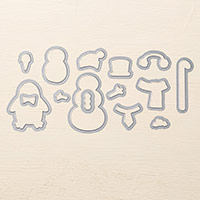
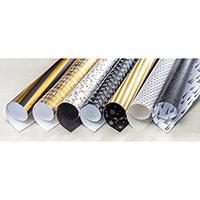
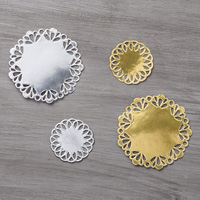
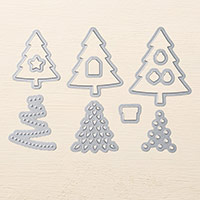
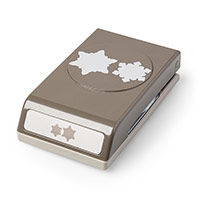
Here are just a few of the items I have on my list of NEED to have!!!
Right now, if you click on them, the prices will be what they normally are but come Monday, these items plus so much more go on sale!!!

Whoooohooooo.....love a sale!!!


Table built using Product Table Builder by The Crafty Owl - Independent Stampin' Up! Demonstrator.


I'll post more items over the next few days!!

Hugs,
Char

Tuesday, November 17, 2015

Tuesday Deals and.....oooooooh, can't wait to share!!!

Good Morning,

Today SU released their new Weekly Deals for this week.  You will find them below!

Also, as a demonstrator, I was able to get a sneak peek, this morning, at the upcoming Occasions Catalog and Sale A Bration flyer.  Can I just say.."OH MY GOSH!!!!!!"

I can't share anything, not even a glimpse, because we aren't allowed to until January 5th when the sale begins.........but I CAN tell you, again, "OH MY GOSH".....it is amazing this year!!!

I have a huge list of 'have to haves' and I will have to spread my buying across several months.  Oh my word!!!  I am just busting at the seams!!  But, Mums the word till Jan 5th.

I am asking my family to give me Visa Cards for Christmas so I can buy SU stuff!!  ;-)

Ok, with that out of my system, here are the Weekly Deals for this week!!  I am pleased to see that they are from the Holiday catalog.

You can do all your online shopping here at my online store.
If your order is less than $150 and you use the Hostess Code QMP6MMZ4. when you place your order, you will receive a thank you and a little gift in the mail from me.  If your order is $150 or more please do not use the hostess code as you will receive your own rewards.

On another note, when shopping in my store, please make sure you do not click the no contact box...or else I have no way of knowing who placed the order and no way of being able to send you a Thank you!!

Thanks!!!
Have a fantastic day!!!
Char


Table built using Product Table Builder by The Crafty Owl - Independent Stampin' Up! Demonstrator.

Monday, November 16, 2015

Retiring Products from the Holiday catalog

Holiday Catalog
retiring products

 Retiring List

We're saying goodbye to retiring products from the holiday catalog; but before we do, we're giving everyone an opportunity to order their favorites.

Dates: November 16, 2015-January 4, 2016 (or while supplies last)
  • Retiring stamps will only be available until December 28 and then they will become "while supplies last" until January 4, 2016.
  • Retiring accessories are "while supplies last" now...some will sell out right away.
Here is the PDF file for you to download.
Make sure you order what you need/want early so you aren't disappointed.  Some accessories may go fast!!

Sorry I haven't shared any fun stuff, lately, I have been down sick with a nasty cold or whatever it is.

Hope you are enjoying FALL.....and looking forward to the Holidays!!

Hugs,
Char

Wednesday, November 11, 2015

Advent Calendar

Today, I am sharing an advent project that I made for my husband.
I saw a cool idea for an Advent Calendar on another blog and just had to make it!!  Here is the original post. to give credit where credit is due, over on Pootle's website.  She is from the UK and does some awesome projects.  

Of course, I re-invented it, so to speak, so that it fit onto a 12 x 12 piece of DSP backing.  (the chipboard that comes in every package of designer series paper that you buy).  YES, I save all of it.  But, this cardboard backing comes from the Glimmer Paper, which is even sturdier.

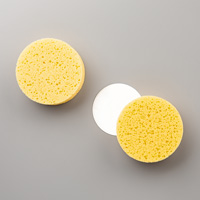
So, basically, I used a piece of Irresistibly Yours DSP and stamped the bough image from the Wonderland stamp set in Staz On onto the designer series paper.  Then, I used a gold ink pad to sponge all over the DSP to bring out the 'dotted' pattern on the DSP.

I attached Gold Metallic Baker's Twine across the DSP and secured it to the back of the DSP and then used a black Sharpie marker and went around and colored in any of the mat board that was showing.  Then, I secured the whole piece to the 12x12 cardboard using tear and tape.

I cut four pieces of 1 1/4" burlap ribbon and stapled two each to the top of each mat board to the back.
To make the cute little cone shaped treat holders, I used the Winter Wonderland Designer Vellum Stack.
First you fold the square in half (diagonally, corner to corner) and then fold each half back to the center.  Then, fold the top flap down in back.  You then just adjust it to make a cone shape.  

I attached a little numbered circle to a clothespin and add that to the top to keep it closed.   (I would suggest using our Hello December 2015 Project Life Accessory Pack for this part, but I couldn't wait for my order to get here) (So, I downloaded a printable and printed it off and punched each one out.  Not quite as cute but it worked in a pinch) 
You can remove the clothespin and store your little treat holders flat.
Just think about all the ways you can use these for just about any occasion.  You could do one for a 25th anniversary, a birthday, a countdown to a retirement!!  The options are endless!!  And, just by changing up the designer paper and stamps.....my mind is going crazy,,,..oh my!!!
Here is how I folded the little cone shaped treat holders.

1st fold

2nd fold


3rd fold


4th fold


5th fold


6th fold

Circle number on tiny clothespin

Finished cone

Here are the supplies I used to make this fun project.


Table built using Product Table Builder by The Crafty Owl - Independent Stampin' Up! Demonstrator.


If you want to do the cute little tags, you can use the stickers from the Hello December Project Life kit.  I found a printable online to do the circled numbers and printed them off and punched them out.

Hope you are able to follow the instructions.  If you have any questions, please ask in the comment section and I will try and explain further.

Have a fantastic day!!!

Char


Tuesday, November 10, 2015

SU Weekly Deals

Oh my gosh, I just checked the Weekly deals and SU has put a few of the holiday punches on sale, this week!!!

If you have been wanting to get these, now is the time at this great discount!

Here is one card I made using the Festive Flower punch!  And, you can use this punch all year long, not just to make Poinsettias.


Here are the items on sale this week!!! 


Table built using Product Table Builder by The Crafty Owl - Independent Stampin' Up! Demonstrator.

Have a great day!!!

Hugs,
Char

Friday, November 6, 2015

Birthday Card


This is the card that I made for our Son for his birthday.

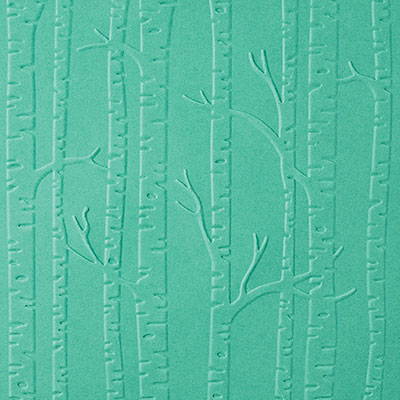
If I haven't mentioned it before, I just LOVE the Woodland Embossing Folder. It is so versatile and can be used pretty much all year long for different occasions. I am hoping to create a card for every occasion and season to share along the way.

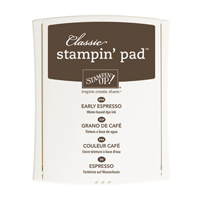
For this card, I laid the folder open and on the inside of the folder where it says Sizzix, I stamped the Elk with Early Expresso onto the embossing folder and then I placed my card stock inside and closed it carefully and then ran it through the Big Shot.

After I removed the card stock, I lightly brayered over the trees with Crumb Cake just enough to give it a little color.

I added some ribbon and attached the layer to a piece of Night of Navy card stock and then onto the card base.

The color in between the trees was my attempt to make it look like a dark night....need to work on that ;-)

Here are the supplies I used:


Table built using Product Table Builder by The Crafty Owl - Independent Stampin' Up! Demonstrator.


Hope you have a great day!!  If you have any questions about this technique, I'll be happy to try and answer them.

Char

Thursday, November 5, 2015

Cozy Christmas

Another card I made the other day that was part of the SAS that I attended.

Love this Monochromatic card using crumb cake and gold.

Stamps:  Cozy Christmas, To You & Yours
Card Stock:  Crumb Cake 8 1/2 x 5 1/2; 4 1/4 x 2 3/4, Very Vanilla 5 1/4 x 4; 
3 3/4 x 2 1/4
Designer Series Paper:  Home for Christmas 5 x 3 3/4
Ink:  Crumb Cake
Embellishments:  Gold 5/8" Satin Ribbon 14"
Stampin' Sponge
Lots of Labels Framelits


Table built using Product Table Builder by The Crafty Owl - Independent Stampin' Up! Demonstrator.


Have a great day!!!!

Char


Wednesday, November 4, 2015

Peaceful Pines Card

Here is another card I made, thanks to my upline Jan.  It uses the Peaceful Pines set.  It's a simple to make but pretty card.  I love these types of cards because I can make quite a few in an hour.  Yet they are so stunning.

Here are the supplies used.

Stamp Set:  Peaceful Pines (139728)
Card Stock:  Whisper White Thick (140272) 
                      Mossy Meadow 
Ink:                Mossy Meadow

Embellishments:  Basic Rhinestones, Winter Wonderland Embellishments (139621)
Punch:  Curvy Corner Trio Punch (139683)

If you would like to recreate this card....just hop on over to my website where you can get all the supplies.  

It's not too late to get some Christmas card supplies order and finished before the PO deadline.

Have a fantastic day!!!

Char


Tuesday, November 3, 2015

Tuesday Deals and ?

Happy  Tuesday!!!  And, you know what Tuesday brings....WEEKLY DEALS from Stampin' UP!

Below are the weekly deals starting today, November 3rd through Monday November 9th 2015.

But, first....a little share!!

Ok....I fibbed, I am not sharing yet!!! I know....I'm bad!!!

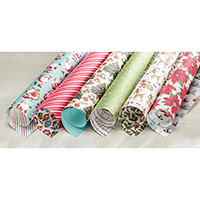
But, in the next few days, I will be featuring a couple of cards that I am making using this DSP.  FUN!!!!

While watching DWTS, (Dancing with the Stars) last night, I did a lot of fussy cutting and will be using those in my card share later this week.

Ok, here's a tiny hint...it involves the first, third and fifth papers.
Stay tuned!!

Ok, now onto the Weekly Deals!!

Just in case you didn't realize it, the Flower Medallion Punch coordinates with the Flurry of Wishes stamp set (139732) in the Holiday catalog.  And, it typically sells for $18 and is now on sale for $13.50!!

Just click on the links and it will take you directly to my SU website.

Also, don't forget to check out the Clearance Rack while you are there.  Lots of little goodies at great prices.


Table built using Product Table Builder by The Crafty Owl - Independent Stampin' Up! Demonstrator.


Hope you have a fantastic day!!!
And, remember to take some time to Paws N Stamp!!!

Hugs,
Char



Monday, November 2, 2015

Rudolph!!

I had the pleasure of attending my up line's Stamp A Stack on Halloween day. She had a funeral to attend that morning and she asked if I would be able to come and keep an eye on things till she returned.  I was happy to help her out.

She told me to please make the cards, too, but although it was way too busy for me to actually sit down and make any cards, I was able to get some photos taken and I received the directions so I could make them at home.  Her idea was for me to be able to make them there, but it just didn't work out that way and I was happy to float around the room doing whatever was necessary to help the other stampers out.

Here is one of the awesome cards they made that day.  I was able to follow the directions with the photos and make my own at home.


Isn't this the cutest card?  And, it's SO simple and easy to make.  All you need is those cute little Reindeer clips and some Enameled dots, card stock and DSP.

Here are the supplies we used:

Card stock:
Merry Moments designer series paper (138450) 5 x 3 and 4 x 1
Whisper White 4 1/2 x 1 1/2"

Inks:
Real Red

Embellishments:

Punch:

Instructions:
  1. Stamp Merry Christmas in Real Red ink on the Whisper White 4 1/2 x 2 1/2.  Punch one end with the Banner Triple Punch.
  2. Use the Banner Triple Punch on the Merry Moments DSP 4 x 1 and cut one end.  Adhere this piece to the back of the sentiment.
  3. Adhere the sentiment to the front of the Merry Moments 5 x 3 3/4.  Add the Reindeer Paper Clip to the front and the Red Enamel Dot for his nose.
  4. Add the Merry Moments 5 x 3 3/4" piece to the Old Olive 5 1/4' x 4" and then to the Whisper White card base.
If you would like to re create this adorable card, you can find all the supplies HERE on my website or by clicking the links.

Hope you enjoy this card!!!

Hugs,
Char



Sunday, November 1, 2015
Spider Web Doilies: Alternate Uses

Different ways to use Spider Web Doilies

Hi,

Today, I thought I would share a short video of other ways you can use your Spider Web Doilies.  They are not JUST for Halloween projects.

Hope you find this video helpful!!


 Have a fantastic day!!!

 Char